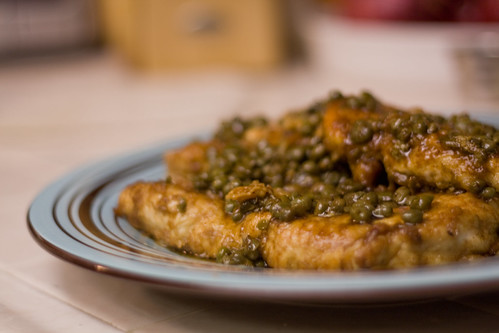
Here’s my favorite preparation of chicken piccata.
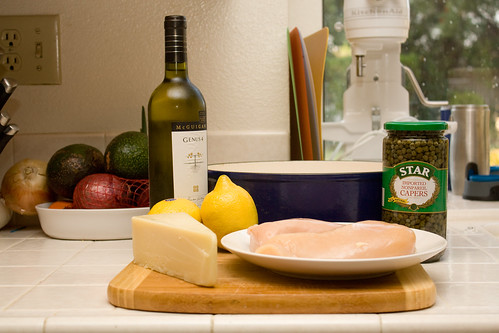
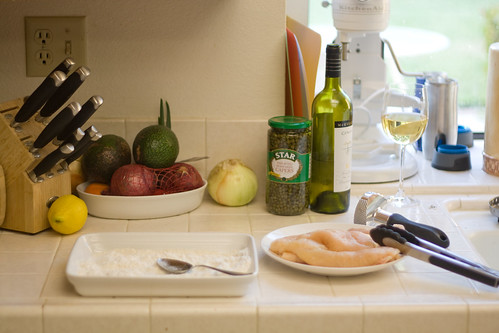
| 2 | chicken breasts (boneless, skinless) | |
| 1/3 | cup | flour |
| 3 | Tbsp | Parmesan or Romano cheese (grated) |
| 4 | Tbsp | olive oil |
| 6 | Tbsp | butter |
| 1/3 | cup | lemon juice |
| 1/2 | cup | dry white wine (we often use Chardonnay) |
| 1/4 | cup | brined capers (drained) |
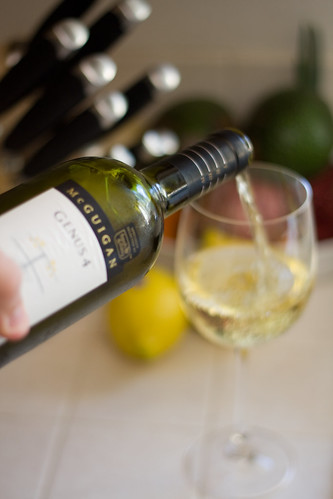
Get things started by uncorking your wine and pouring yourself a glass. Everyone always says that you shouldn’t cook with wine that you wouldn’t drink. Given that I’ll drink anything short of “corked” wine, this is a very low hurdle for the wine to surpass. Still, this dish takes a bit of patience, so get that wine flowing!
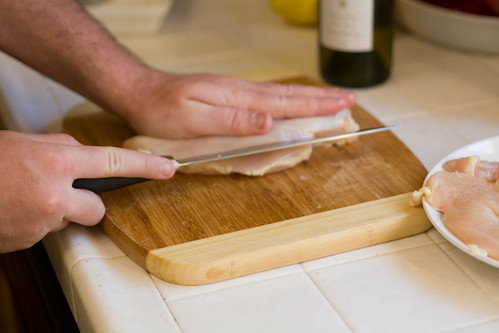
This is probably the hardest part of the entire recipe, and it’s also one of the most important. The thinness and tenderness of the chicken is what gives it the melt-in-your-mouth quality.
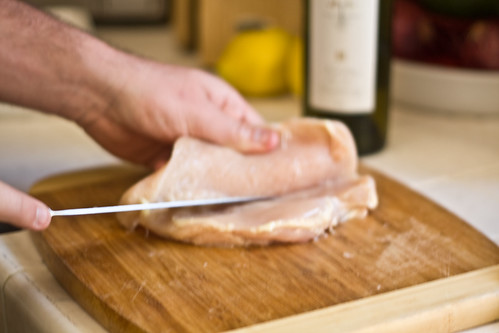
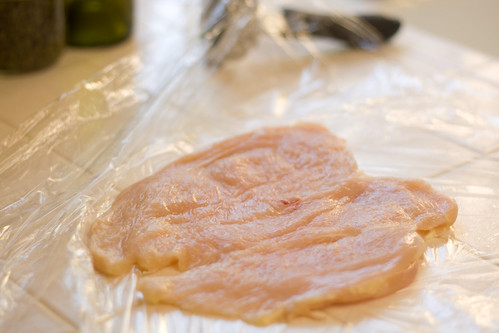
If you’ve never butterflied a chicken breast before, it can be a bit daunting. Please take care to not slice your hand off. I like to put the “rough side” down on the cutting board and make a slow horizontal incision. Once you make it a few inches in, peel up the top layer and put a little tension on the “V” between the two forming cutlets. Make long, easy strokes against that point – you shouldn’t need much force on the knife at this point, the breast should kind of “peel apart.”
If you’ve got behemoth breasts, like the ones they sell at Costco, (and you’re feeling like a challenge) you want to shoot for a “tri-fold” cut (as I call it). Do the same as above, but only with the top third of the breast, then reverse the knife and go back the other way in the same manner. If you have a better technique for getting thin cutlets, please let me know.
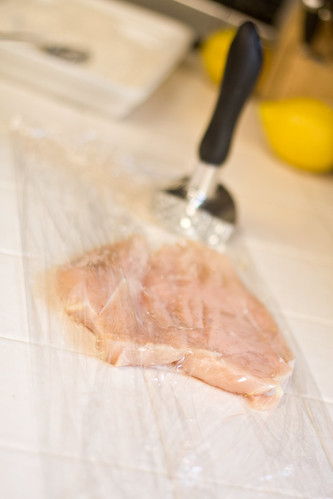
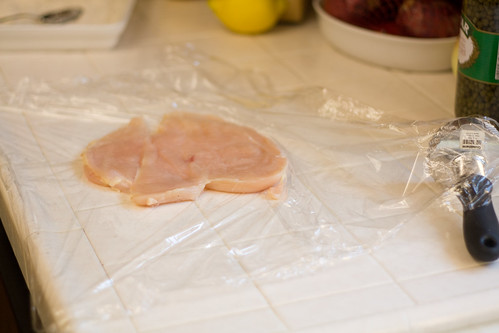
If you don’t feel like your cutlets are thin enough, you can also pound them out. I recommend doing this as it helps to tenderize the chicken as well. I encase the cutlets in cling wrap and pound away, striking down with an outward motion (does that make sense). Make sure the cling wrap isn’t too tight, or it’ll bust out of the side and make a mess. Set the breasts aside on a dish.
Look – if you’re worrying about making the cutlets look nice and even, don’t. While visual appeal is great, it’s the flavor that makes the dish. If you’ve got irregularly sized pieces, don’t worry about it.
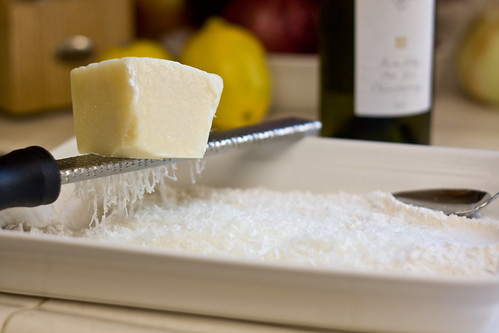
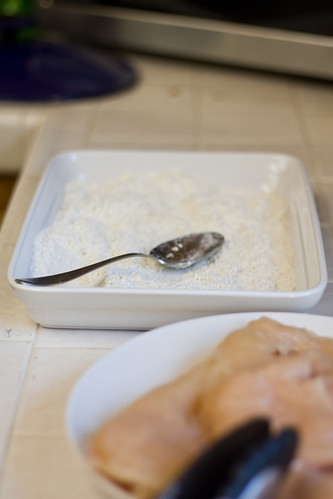
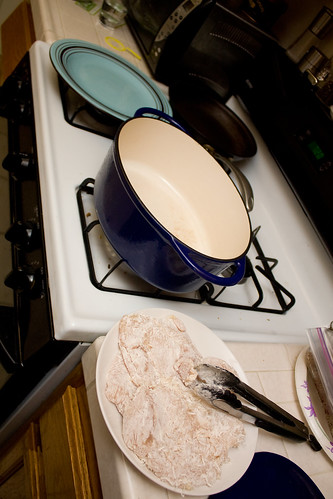
Grate a few tablespoons of cheese into a flour-filled dish. This is your dredging dish, used to coat your chicken, so make sure it’s large enough. The tall lip helps keep flour from flying our when coating your breasts.
I used a microplane with Pecorino Romano – I like the more pronounced flavor of romano, but the shreds that the microplane creates tend to clump together when mixing in with the flour. Just keep in mind that after tossing around a bit, it’ll loosen up.
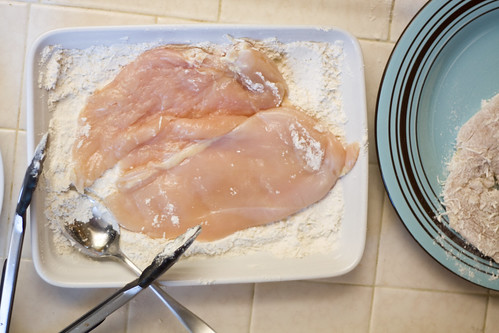
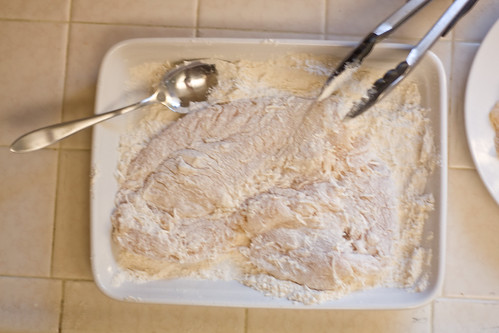
This next set of pictures should be clear enough without my ranting.
All right – the breast are coated and ready. Let’s proceed.
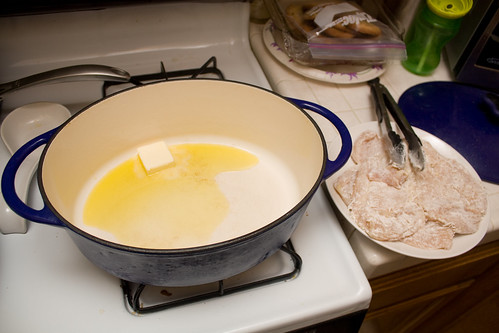
Get your pan going on medium-high heat.
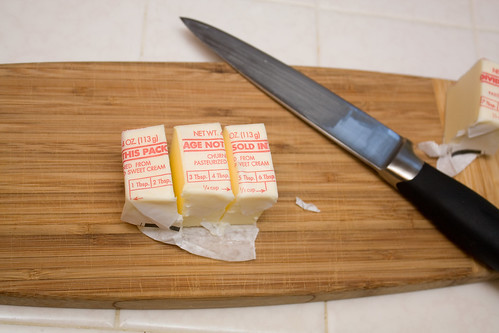
Section your 6 tablespoons of butter into 2 tablespoon increments.
Melt 2 tablespoons of butter into 2 tablespoons of olive oil. Precise measurement on the oil isn’t essential – eyeball it. You’re basically just getting enough fat in there to fry (not deep-fry) your chicken.
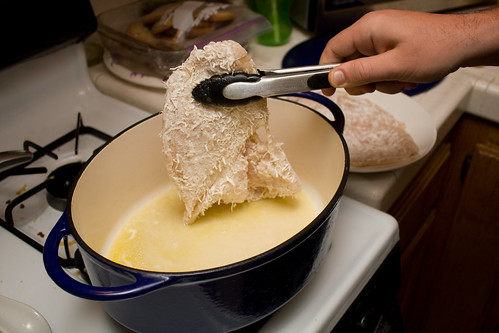
Lower one breast into the pan – take care not to plop it in or you’ll send hot fat flying everywhere!.
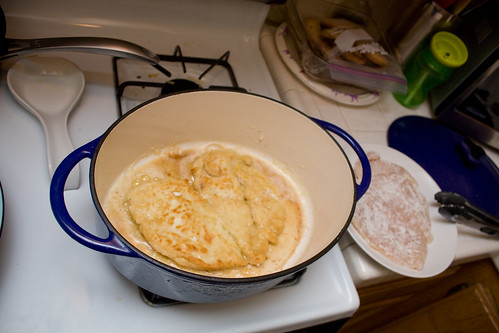
Flip after about 2 minutes, and cook an additional 2 minutes. You’re looking for golden brown on both sides. Remove the chicken to a plate and cover with aluminum foil.
You’re going to repeat this procedure with the second breast: add 2 more tablespoons each of butter and oil, and lower the breast in – 2 minutes each side.
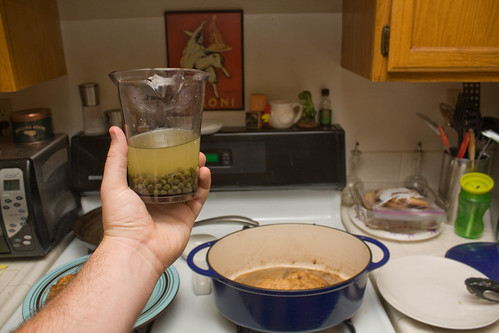
While the breasts are cooking, juice your lemons and prepare your deglazing liquids – lemon juice, white wine, and capers. It all goes in at the same time, so feel free to mix it ahead of time
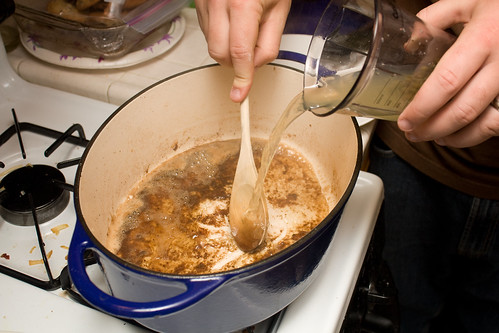
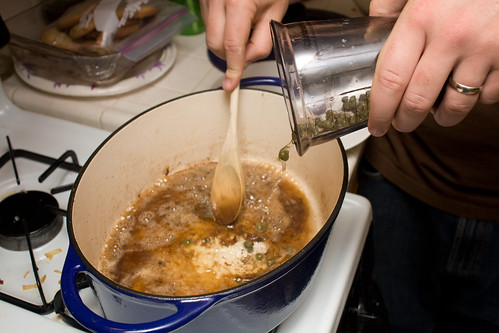
When the breasts are done, set them aside – perhaps in a warm oven (or perhaps not.) The pan will have brown bits of goodness stuck to the bottom. This is the “fond” and will help to flavor our sauce. Pour the juice/wine/capers into the hot pan, scraping the bits off the bottom as the pan sizzles.
Stirring occasionally to keep it from burning, reduce this liquid by half. One trick for measuring that is flipping the wooden spoon around and dipping the cylinder into the sauce when you start, then repeating after some time to measure the difference in liquid height.
I don’t do this.
Instead, I just wait for the liquid to thicken. It’ll begin to “slosh” less and will look slightly syrupy. It’s very important that you get to this point before proceeding. The next step is to add the last 2 tablespoons of butter an whisk to incorporate; this finishes the sauce. If you add the butter, then reduce more, you run the risk that the sauce will break, leaving you with an oil slick.
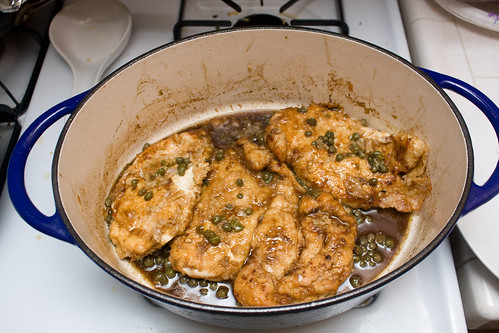
When the butter is incorporated, move your chicken back into the pan and let it soak in the flavor (on low heat) for a 3 minutes – or don’t.
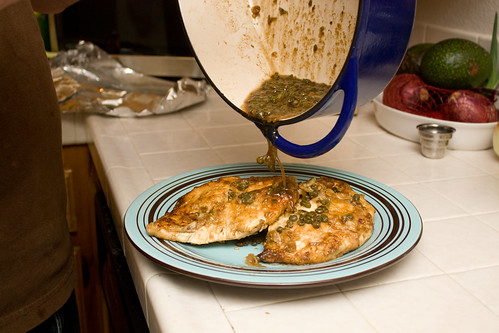
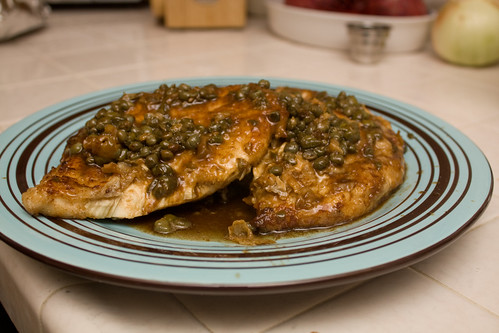
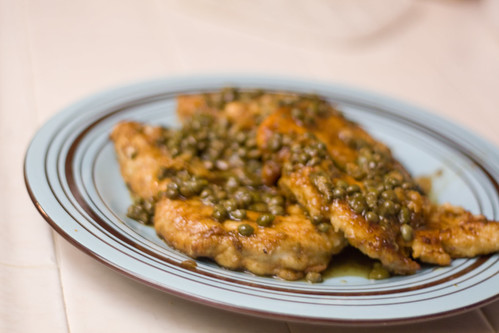
Move the chicken to the serving dish and cover with the remaining sauce.
Optionally, you can sprinkle with some roughly chopped Italian parsley. It gives the dish a nice refreshing note.
Meg can’t tell cilantro from parsley at times, so we had to forgo this night. ;-)
Remember one, very important thing: the recipe just doesn’t matter that much. I encourage you to modify the recipe, adding more/less of what you like/dislike. I often heap extra capers into the sauce.
BUT please, don’t add the butter to the sauce too soon!
4 comments:
You are so high class.
Although I hate capers, I think I might love you.
We should have a cook-off! It could be a hot double-date combined with food (possibly... THE PERFECT COMBINATION???)
OMG this made me so hungry!!!!! Allow me to suggest you make this for us while we are camping next weekend. I heard butterflying/pounding chicken is no big deal in the wilderness.
The chicken breasts could be sliced and pounded ahead of time to facilitate a camping trip - but still, it's a pretty tall order!
Post a Comment